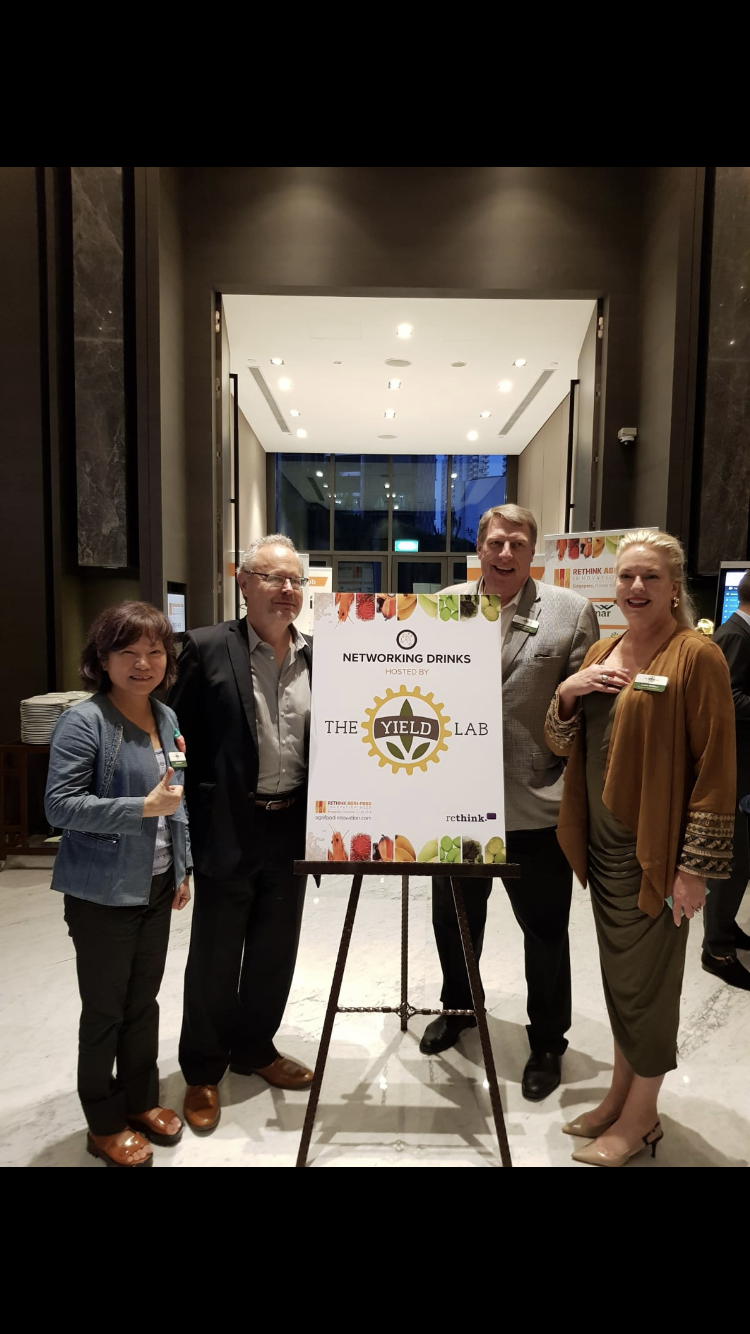
Photo Courtesy: The Yield Lab
IMG_1707 (002)
Related Articles

World Trade Center St. Louis to Host Trade Mission to Canada
ST. LOUIS (April 25, 2024) — World Trade Center (WTC) St. Louis is hosting a …
Hannah Nixon

Hannah Nixon