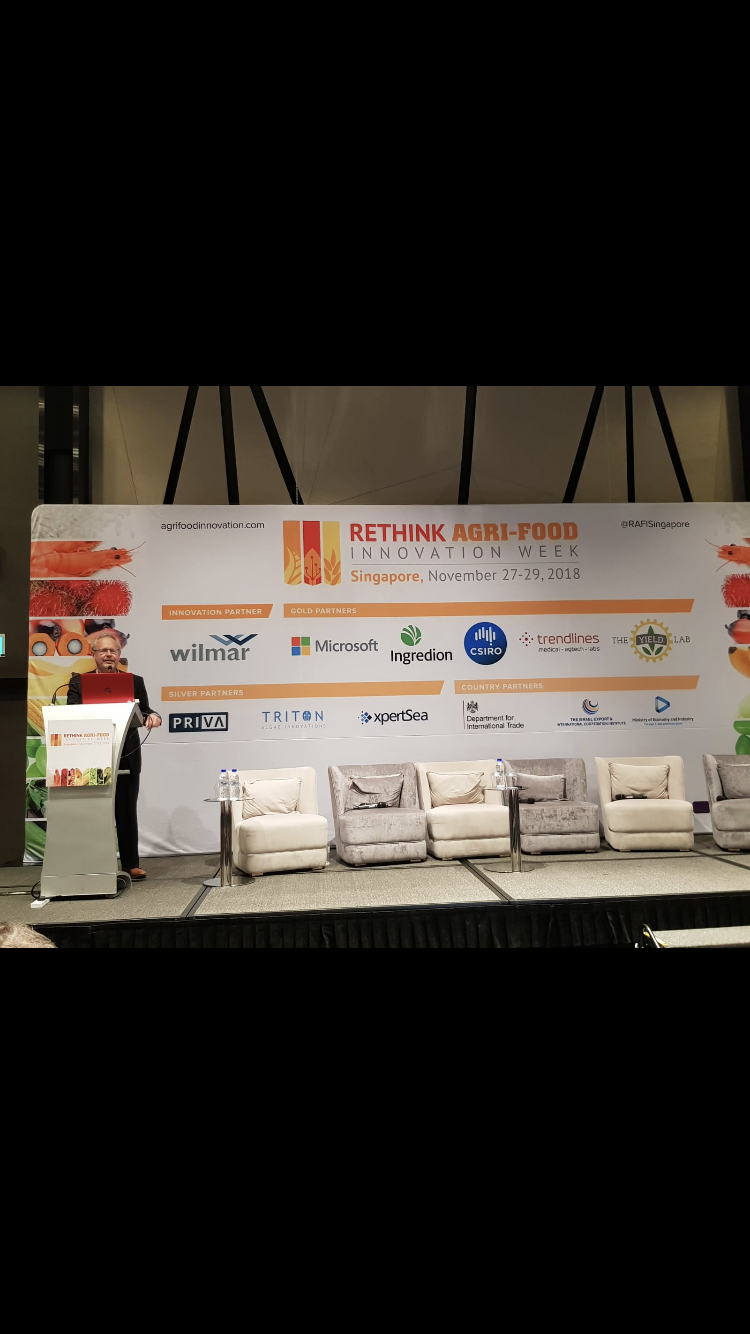
Photo Courtesy: The Yield Lab
IMG_1710 (002)
Related Articles

Small Business Transportation Resource Center Opens New Office in Cortex
The Central Region Small Business Transportation Resource Center (SBTRC) recently hosted a luncheon and ribbon …
Hannah Nixon
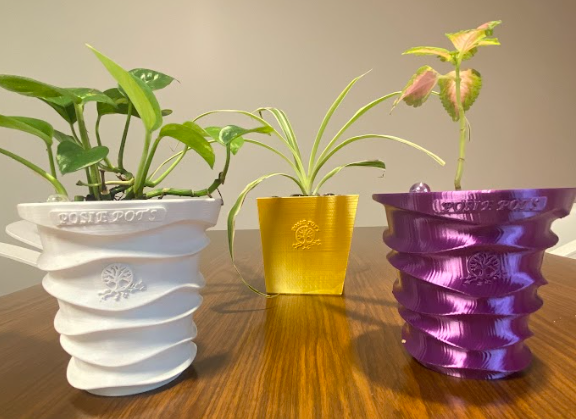
Revolutionizing Plant Care with Posie Pots
Hannah Nixon